
You control three indents - imageEdgeInsets, titleEdgeInsets and contentEdgeInsets. Before diving into the process, take a look at sample project. The project clearly shows how the indentation combinations work. In the video, I put a fill for the elements:
- Red -> background
- Yellow -> icon
- Blue -> title
contentEdgeInsets
Adds indents around the header and icon. If you put negative values, the indentation will be reduced. Code:
previewButton.contentEdgeInsets.left = 10
previewButton.contentEdgeInsets.right = 10
previewButton.contentEdgeInsets.top = 5
previewButton.contentEdgeInsets.bottom = 5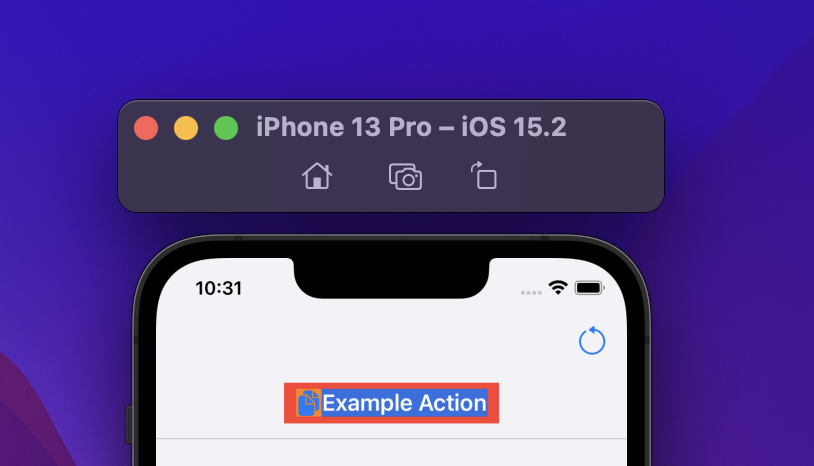
The indentation around the content affects only the button size. The frame and the clickable area are enlarged accordingly.
imageEdgeInsets and titleEdgeInsets
They are in the same section, because your task is to add indents on one side and reduce them on the other. Let's add an indent between the picture and the header 10pt. The first idea is to add an indent through the property imageEdgeInsets:
The indentation is added, but does not affect the size of the button — the icon flies behind the button. TitleEdgeInsets` behaves the same way — it doesn't change button size. If you indent the text positively to the left and the icon negatively indented to the left - then there will be a distance of 10pt between the text and the icon.
previewButton.imageEdgeInsets.left = -10
previewButton.titleEdgeInsets.left = 10
This is the symmetry I wrote about above.
Icon to the right of the text
Let's put the icon to the right of the header:
let buttonWidth = previewButton.frame.width
let imageWidth = previewButton.imageView?.frame.width ?? .zero
Shift the header to the left edge. The indent on the left was imageWidth. If you decrease by this value, you get the left edge.
previewButton.titleEdgeInsets = UIEdgeInsets(
    top: 0,
    left: -imageWidth,
    bottom: 0,
    right: imageWidth
)
We move the icon to the right edge. The default indent was `0`, so the new Y point will have the width of the icon.
previewButton.imageEdgeInsets = UIEdgeInsets(
    top: 0,
    left: buttonWidth - imageWidth,
    bottom: 0,
    right: 0
)
Deprecated
Note, from iOS 15 the indentations are marked as deprecated.
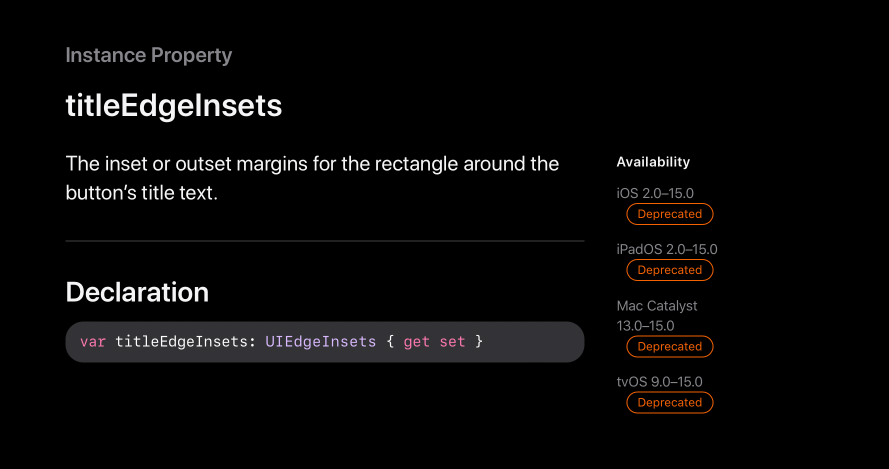
Property will work for a few years. Apple recommends using the configuration.
You can play with the indents in sample project.