
Keep an eye on the compatibility of the symbols - not all symbols are available for iOS 14 and earlier. You can see which version of the symbol is available in the app. The code examples will be for SwiftUI and UIKit.
Render Modes is to render an icon in a color scheme. Monochrome, Hierarchical, Palette and Multicolor are available.

The symbol may not support all renderings. If no rendering is available, the symbol will be rendered in monochrome. You can compare renders in the official SF Symbols application.
Monochrome Render
The icon is filled with color. Control the color through tintColor.
// UIKit
let image = UIImage(systemName: "doc")
let imageView = UIImageView(image: image)
imageView.tintColor = .systemRed

// SwiftUI
Image(systemName: "doc")
    .foregroundColor(.red)
The method works not only for SF Symbols, but for any image.
Hierarchical Render
Draws the icon in one color, but creates depth with transparency for the elements of the symbol.
// UIKit
let config = UIImage.SymbolConfiguration(hierarchicalColor: .systemIndigo)
let image = UIImage(systemName: "square.stack.3d.down.right.fill", withConfiguration: config)

// SwiftUI
Image(systemName: "square.stack.3d.down.right.fill")
    .symbolRenderingMode(.hierarchical)
    .foregroundColor(.indigo)
Note that sometimes the hierarchical render looks the same as the Monochrome Render.
Palette Render
Draws the icon in custom colors. Each symbol needs a specific number of colors.
// UIKit
let config = UIImage.SymbolConfiguration(paletteColors: [.systemRed, .systemGreen, .systemBlue])
let image = UIImage(systemName: "person.3.sequence.fill", withConfiguration: config)

// SwiftUI
Image(systemName: "person.3.sequence.fill")
    .symbolRenderingMode(.palette)
    .foregroundStyle(.red, .green, .blue)
To preserve the universal API, you can pass any number of colors. Here are the rules by which this works:
- If a symbol has one segment for a color, it will use the first color specified.
- If the symbol has two segments, but one color is specified, it will be used for both segments.
- If you specify two colors, they will be applied accordingly.
- If you specify three colors for a symbol with two segments, the third is ignored.
Multicolor Render
Important elements will be painted in a fixed color, while the filler color can be customized. In the preview, the filler color is .systemCyan:

// UIKit
let config = UIImage.SymbolConfiguration.configurationPreferringMulticolor()
let image = UIImage(systemName: "externaldrive.badge.plus", withConfiguration: config)

// SwiftUI
Image(systemName: "externaldrive.badge.plus")
    .symbolRenderingMode(.multicolor)
Images that do not have a multicolor version will automatically be displayed in Monochrome Render.
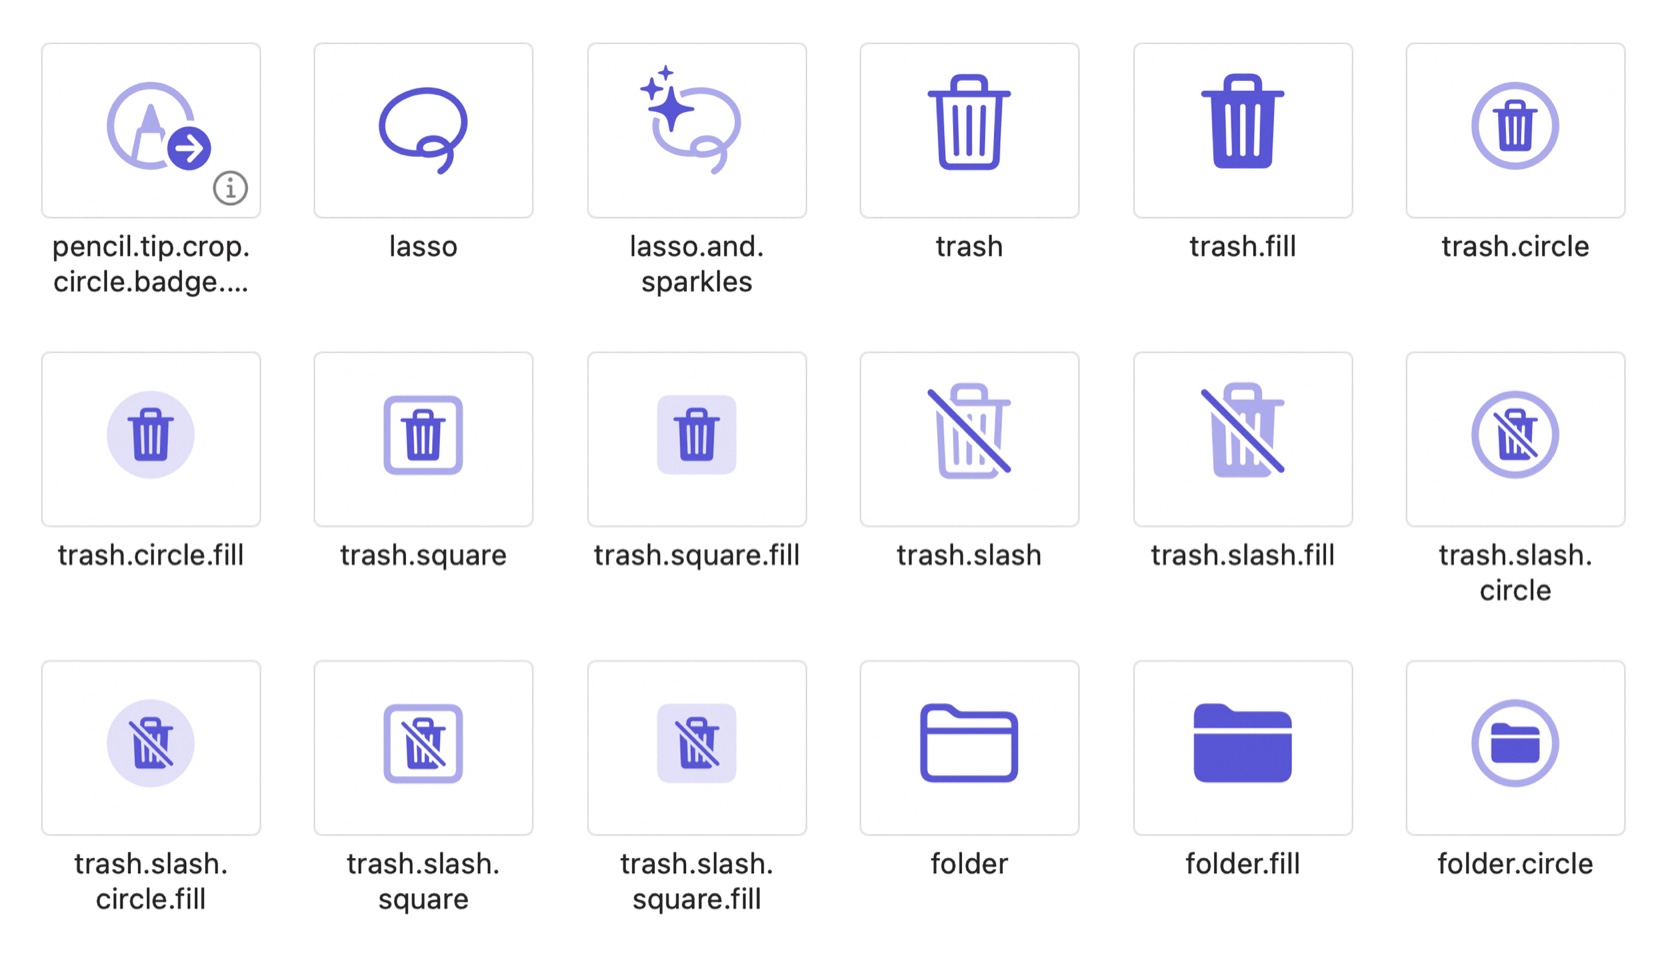
Symbol Variant
Some symbols have shape support, for example the bell bell can be inscribed in a square or a circle. In UIKit you have to call them by name - for example bell.square, but in SwiftUI there is a modifier .symbolVariant():
// The bell is crossed out
Image(systemName: "bell")
    .symbolVariant(.slash)

// Inscribes in the square
Image(systemName: "bell")
    .symbolVariant(.square)

// You can combine
Image(systemName: "bell")
    .symbolVariant(.fill.slash)
Note, in the last example you can combine character variants.
Adaptation
SwiftUI knows how to display characters according to context. For iOS, Apple uses filled icons, but in macOS, icons without a fill - just lines. If you use SF Symbols for the Side Bar, you don't need to specify this specifically - the symbol adapts.
Label("Home", systemImage: "person")
    .symbolVariant(.none)