
Before testing push-notifications on the simulator, you need to get permission from the user. How to request permission is described at the end of the tutorial. You can test both regular and Rich-notifications, which are notifications with pictures, sounds and action-buttons.
You can do this through a json-file with data, or through a terminal.
Drag and drop json-file
Create a file with the data for the push. Here I will add text, sound and number to the application icon badge:
{
   "aps" : {
      "alert" : {
         "title" : "Game Request",
         "body" : "Bob wants to play poker"
      },
      "badge" : 9,
      "sound" : "bingbong.aiff"
   }
}
You can specify more content, such as a picture or actions. All available keys for push notifications at the link.
Now you need to add Simulator Target Bundle to the file, so that the simulator understands which target is getting a push:
{
   "aps" : {
      "alert" : {
         "title" : "Game Request",
         "body" : "Bob wants to play poker"
      }
   },
   "Simulator Target Bundle": "com.bundle.example"
}
If the bundle is not specified, you will get this error:
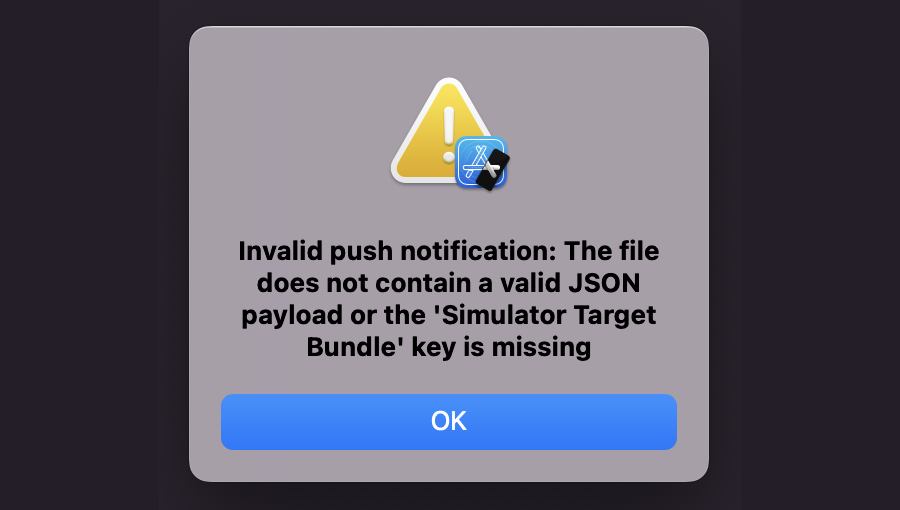
If all is well, a push will appear on the simulator:

Through Terminal
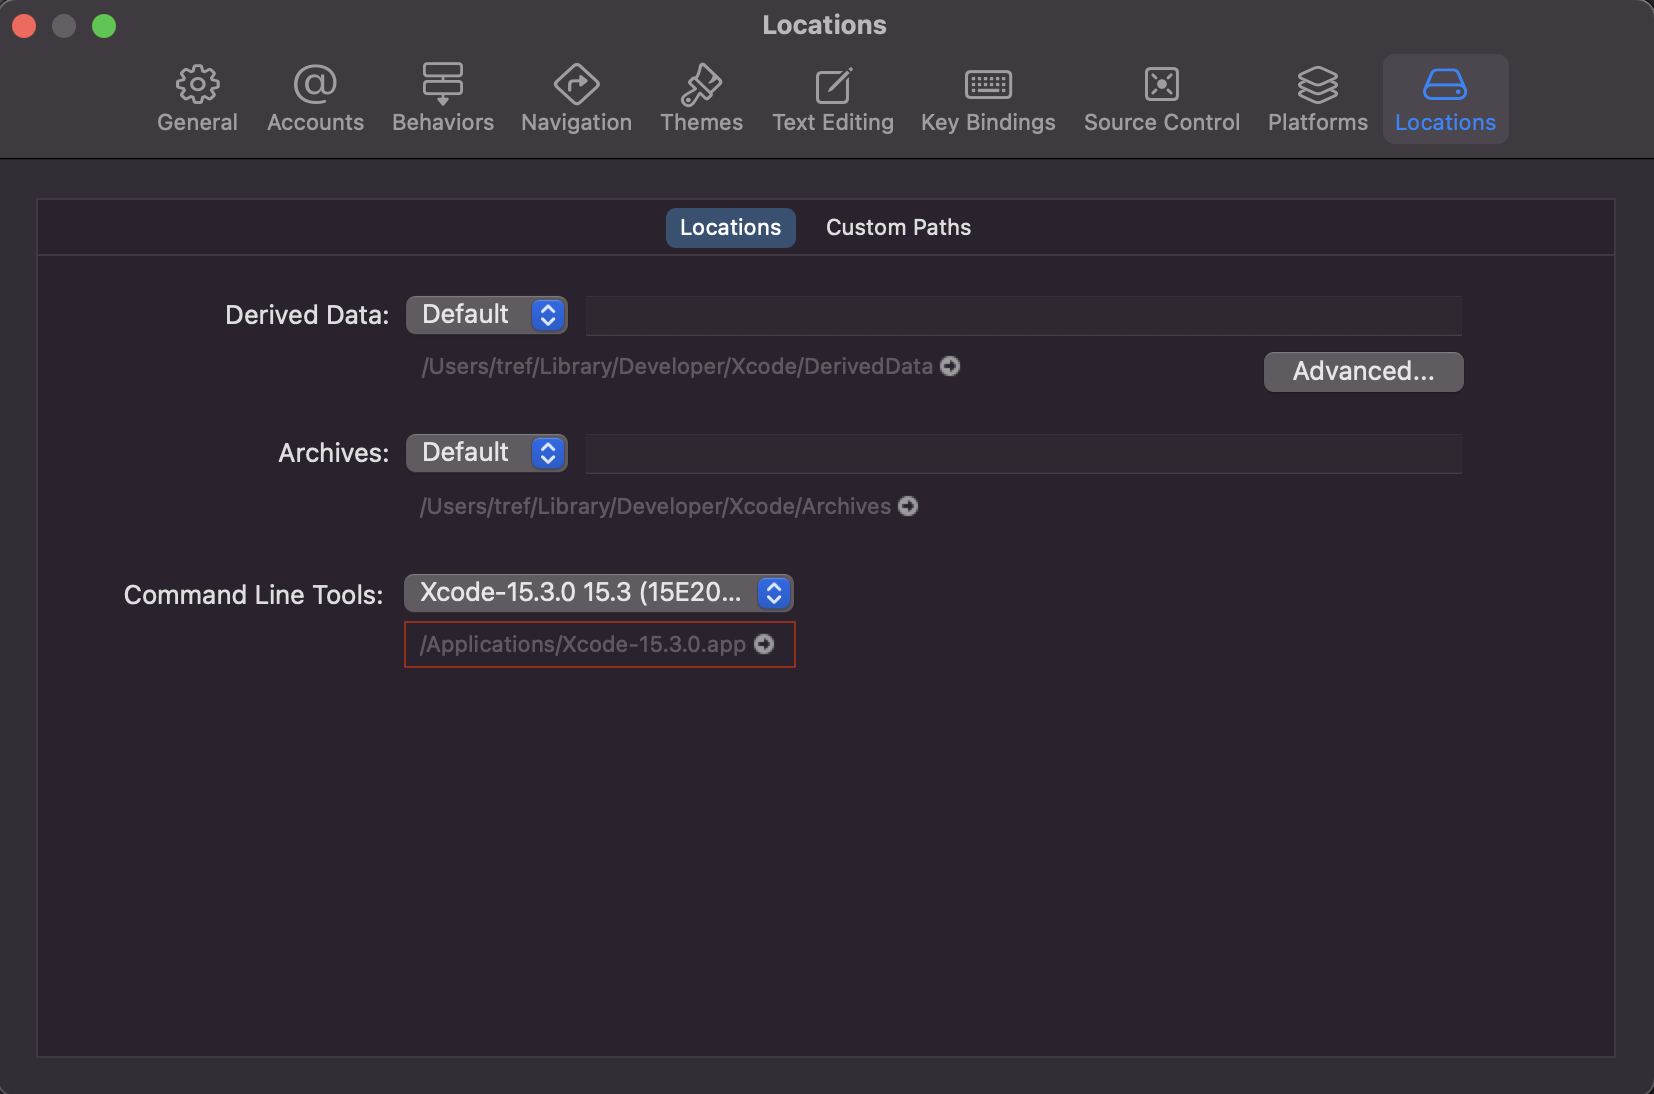
In this method you also use the APNS-file, but you pass it through the terminal. Check in the Xcode settings that Command Line Tools is set, otherwise simctl will give an error. If you can't see the path at the bottom, select the Xcode version again:
The command is used to send a push:
xcrun simctl push <id simulator> <bundle id> <path to apns file>The Bundle id is the bundle of your application. And to find out the id simulator the command is used:
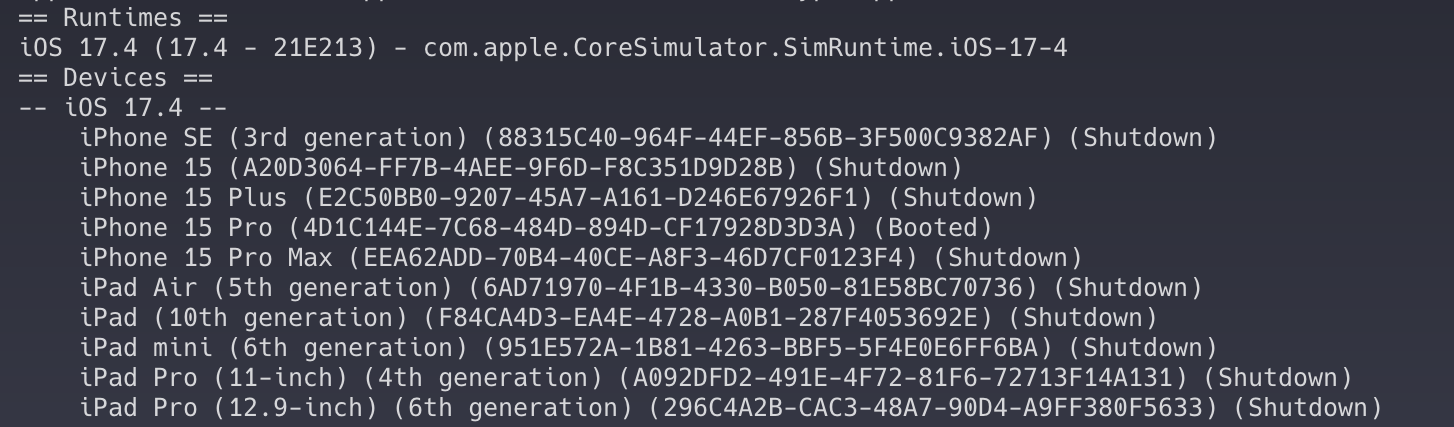
xcrun simctl listIt will show a list of all simulators and their id. Note that a running simulator will have Booted:
Collect the command with the id simulator and call it:
xcrun simctl push 4D1C144E-7C68-484D-894D-CF17928D3D3A com.bundle.example payload.apnsIf you have a simulator running, you can specify Booted instead of the key, so the push will automatically fly to the running simulator.
If everything is done correctly, you will get this message:

Permission
In order for push-notifications to be shown on the simulator and the device, you need to request permission. You can do this manually or via our library.
Permission request
Import UserNotifications and invoke the system query:
UNUserNotificationCenter.current().requestAuthorization(options: [.alert, .sound, .badge]) {(granted, error) in
   print("Permission Granted: \(granted)")
}
Requests need to be made anywhere before notices are sent. This is roughly what our library does PermissionsKit :
import PermissionsKit

Permission.notification.request {}
Permission reset
If you need to reset the permission for push-notifications, all you need to do is uninstall the app